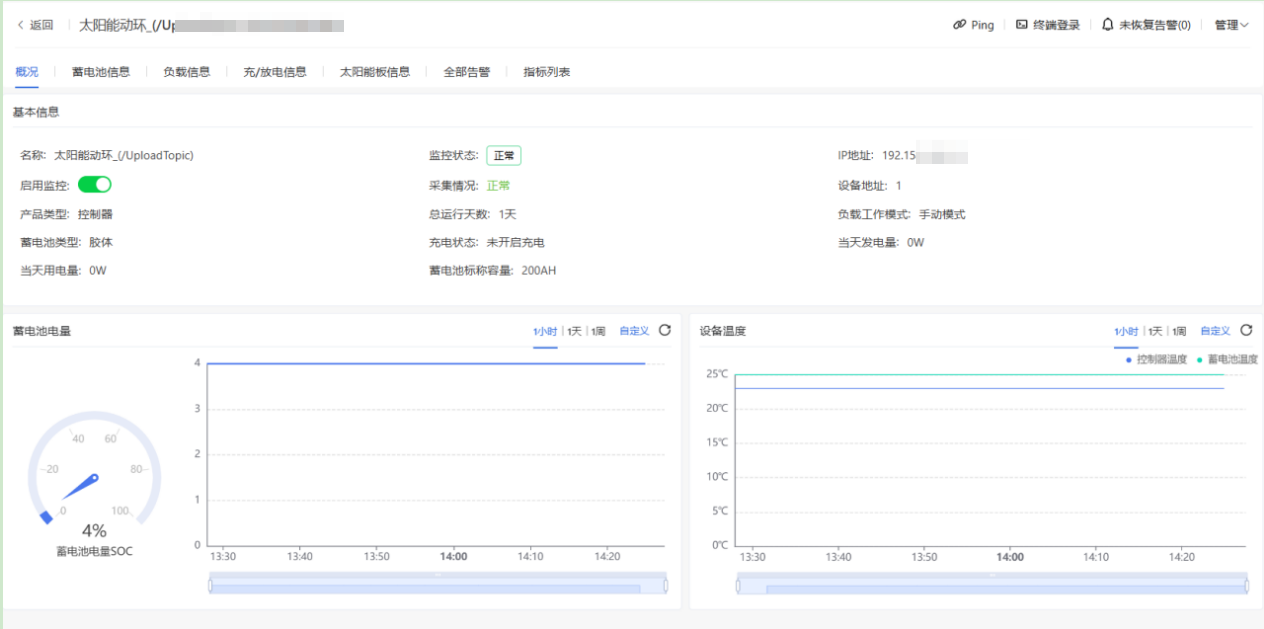

文档说明:本文档主要是安装mosquitto服务端,完成对srne硕日太阳能动环对接监控
yum install gcc-c++ cmake openssl-devel libuuid-devel c-ares-devel uuid-devel libwebsockets-devel.x86_64 libwebsockets.x86_64 -y
服务器建立mqtt文件夹
https://mosquitto.org/files/source/mosquitto-2.0.20.tar.gz
tar -xvf mosquitto-2.0.20.tar.gz

cd mosquitto-2.0.20/

make && make install
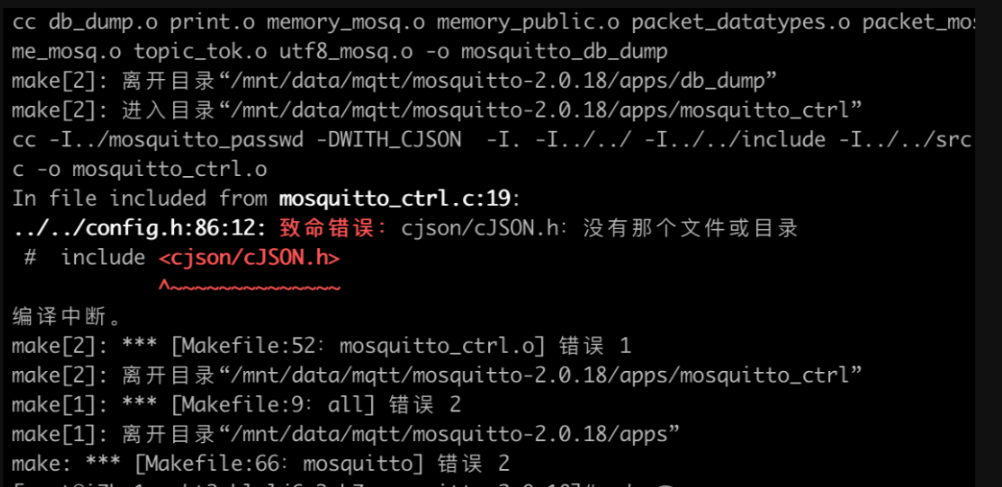
报错:重新执行make && make install,继续报错config.h:86:12: fatal error: cjson/cJSON.h: No such file or directory
解决方案:那就网上找cJSON包安装下, 在mqtt目录下执行安装
先确认下是否已经安装git,没有的话。
yum install git

git clone https://github.com/DaveGamble/cJSON.git

cd cJSON/
创建一个构建目录并进入:
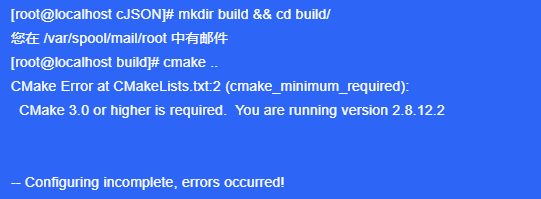
mkdir build && cd build/
使用 CMake 生成构建文件
cmake ..
最后,使用 sudo make install 命令安装 cJSON 库到系统目录中。这一步需要 root 权限:
sudo make install
但是可能会报错,CMake 版本不足,版本太大,需要3.0以上的
需要先升级cmake
yum remove -y cmake
1.创建新目录并进入:
mkdir /opt/cmake

cd /opt/cmake/
2.下载最新版本的 CMake: 您可以从 CMake 官网下载最新版本的 CMake。例如,下载 3.16.6 版本:
wget https://cmake.org/files/v3.16/cmake-3.16.6.tar.gz
3.解压下载的文件:
tar -zxvf cmake-3.16.6.tar.gz
4.安装编译工具:
yum install -y gcc gcc-c++
5.编译并安装 CMake:
cd cmake-3.16.6

./configure --prefix=/usr/local/cmake

make && make install
6.创建链接:
ln -s /usr/local/cmake/bin/cmake /usr/bin/cmake
7.验证新版本的 CMake:
cmake --version
重新编译 cJSON 库
更新 CMake 版本后,您可以重新进入 cJSON 的目录并尝试编译:
bash复制
cd /path/to/cJSON/build

cmake ..

make

sudo make install
安装完毕后,切换回
cd ../mosquitto-2.0.18/
重新执行make && make install
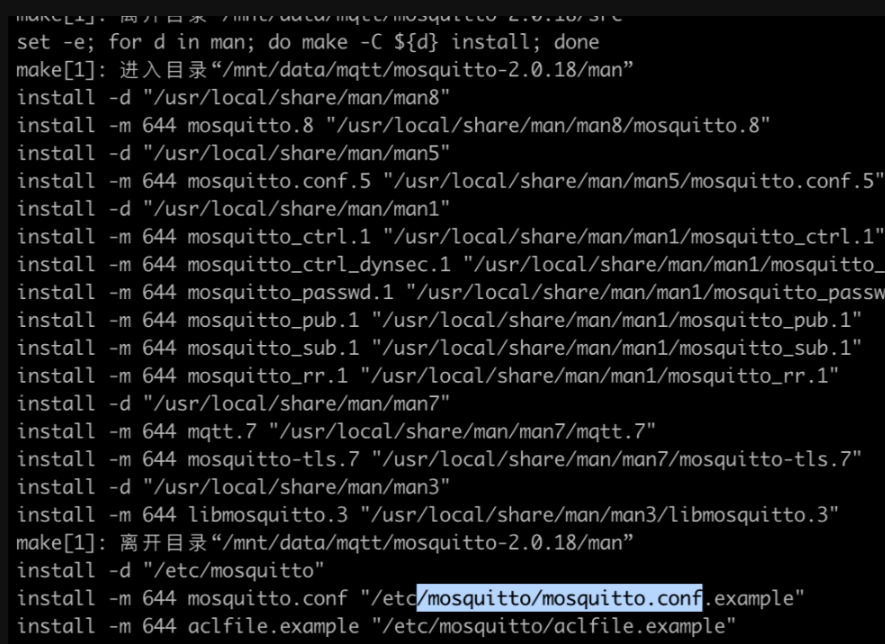
cp /etc/mosquitto/mosquitto.conf.example /etc/mosquitto/mosquitto.conf

mosquitto -c /etc/mosquitto/mosquitto.conf -d -v #可能报错没有mosquitto这个命令,需要软连接一下就好,或者直接使用绝对路径

ln -s /usr/local/sbin/mosquitto /usr/bin/mosquitto
这个命令会在 /usr/bin/ 目录下创建一个名为 mosquitto 的符号链接,它指向 /usr/local/sbin/mosquitto。下面用到的mosquitto_passwd、mosquitto_sub、mosquitto_pub这些命令也是要软链接一下,不然也会报错说没有的命令
可以使用 ls -l 命令来检查符号链接是否正确创建:
ls -l /usr/bin/mosquitto
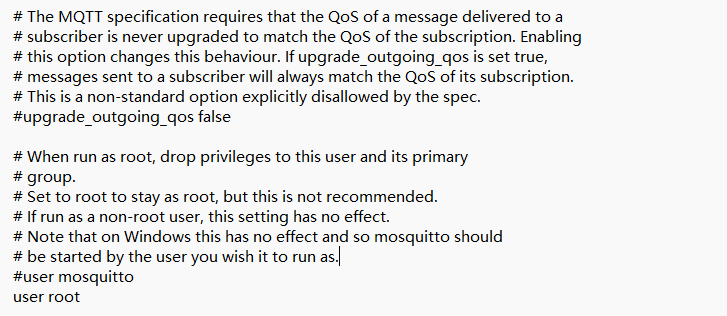
配置文件中默认使用user mosquitto。如果不想创建此用户,可以修改成其他的用户名,如果是root,就像下面这样,但是会可能不允许使用root,那就用默认的mosquitto,但是会报错没有这个用户就稍等创建。
问题:Unable to drop privileges to ‘mosquitto’ because this user does not exist. Trying ‘nobody’ instead
解决方案:
groupadd mosquitto

useradd -g mosquitto mosquitto

chown -R mosquitto:mosquitto /etc/mosquitto/

mosquitto -c /etc/mosquitto/mosquitto.conf -d -v
重新执行启动命令
大于2.0.0版本的mosquitto,默认配置只会绑定到localhost,如果希望其他机器访问,需要修改配置文件添加, 也可以自己修改端口号。
vim  /etc/mosquitto/mosquitto.conf

listener 1883 0.0.0.0
修改密码方法如下:
1、找到并打开Mosquitto服务器的配置文件
vi /etc/mosquitto/mosquitto.conf
2、将其中的配置选项allow_anonymous改为 false,禁止匿名登录(然后再测试的命令的时候一直说没有找到这个目录文件,那就将这个改为true)
allow_anonymous false 保存
3、将密码配置选项配置如下:
password_file /etc/mosquitto/pwfile
4、默认该目录下没有该文件,则进入该目录,并拷贝一份,命令如下:
cp /etc/mosquitto/pwfile.example /etc/mosquitto/pwfile
5、添加用户信息。在终端执行以下代码,应用mosquitto_passwd命令创建用户名, username修改成自己的
mosquitto_passwd -c /etc/mosquitto/pwfile username
执行以后会提示输入密码,重复2次输入之后,用户名密码配置完成。
6、重新启动mosquitto服务之后,用户名密码生效
ps  -ef|grep mosque    #然后kill掉

mosquitto -c /etc/mosquitto/mosquitto.conf -d -v
问题:mosquitto_sub: error while loading shared libraries: libmosquitto.so.1: cannot open shared object file: No such file or directory
解决方案:
ln -s /usr/local/lib/libmosquitto.so.1 /usr/lib/libmosquitto.so.1

ldconfig
如果还是报错,那就先find / -name libmosquitto.so.1 看看文件在哪里,再执行上面的软链接
继续执行,又报错
问题: mosquitto_sub: error while loading shared libraries: libcjson.so.1: cannot open shared object file: No such file or directory
解决方案
ln -s /usr/local/lib/libcjson.so.1 /usr/lib/libcjson.so.1

ldconfig
如果还是报错,那就先find / -name libcjson.so.1 看看文件在哪里,再执行上面的软链接
客户端测试:
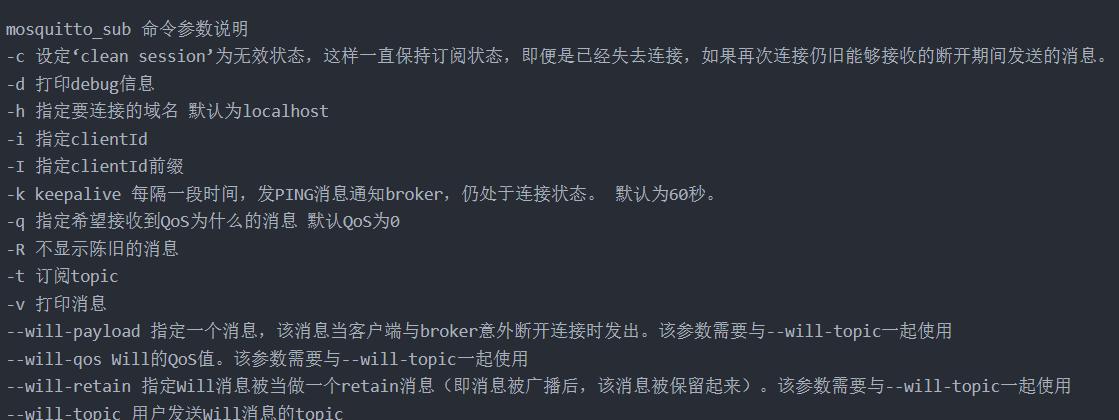

mosquitto_sub -h ip -u username -P password -t test_topic -v
mosquitto_pub -h ip -u username -P password -t test_topic -m 'helloworld'